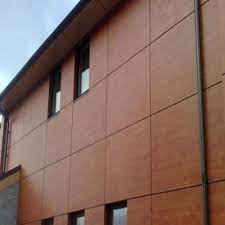
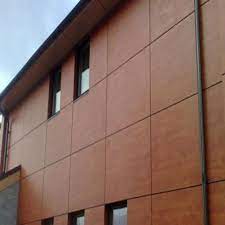
How to Installed Exterior HPL Cladding
The installation of exterior HPL cladding is typically done by professionals, as it requires specialized tools and expertise. However, here are the general steps involved in installing HPL cladding:
- Preparing the surface: The surface where the HPL cladding will be installed should be clean, dry, and free from any debris or protrusions. If necessary, a moisture barrier should be installed to prevent moisture from seeping into the building.
- Installing the substructure: The substructure is the framework onto which the HPL cladding will be attached. The substructure can be made of metal or wood and should be installed following the manufacturer's recommendations.
- Cutting the HPL cladding: The HPL cladding panels should be cut to the desired size and shape using a circular saw or a jigsaw with a fine-toothed blade.
- Attaching the HPL cladding: The HPL cladding panels can be attached to the substructure using a variety of mounting systems, such as mechanical fasteners, adhesive, or a combination of both. The mounting system used will depend on the type of HPL cladding, the substructure, and the manufacturer's recommendations.
- Sealing the joints: The joints between the HPL cladding panels should be sealed with a sealant to prevent moisture from seeping in and causing damage.
- Finishing touches: The installation of HPL cladding is typically finished with the addition of trims and accessories, such as corner trims, edge trims, and soffit panels.
It's important to note that the specific installation process for HPL cladding can vary depending on the manufacturer and the type of product used. Additionally, the installation of HPL cladding should be done in accordance with local building codes and regulations to ensure the safety and stability of the building.

